In theory, winemaking is pretty straightforward. It’s a natural process of fermenting grapes with yeast. However, there is a lot of care and passion that goes into every bottle and makes the outcome of the wine truly great. As fellow wine enthusiasts, we all like to sit back and have a glass or three every now and then. As we take each glorious sip, we think about the appearance, nose, and palate. But what does it really take to make wine?
Here’s the wine lover’s guide to winemaking at home.
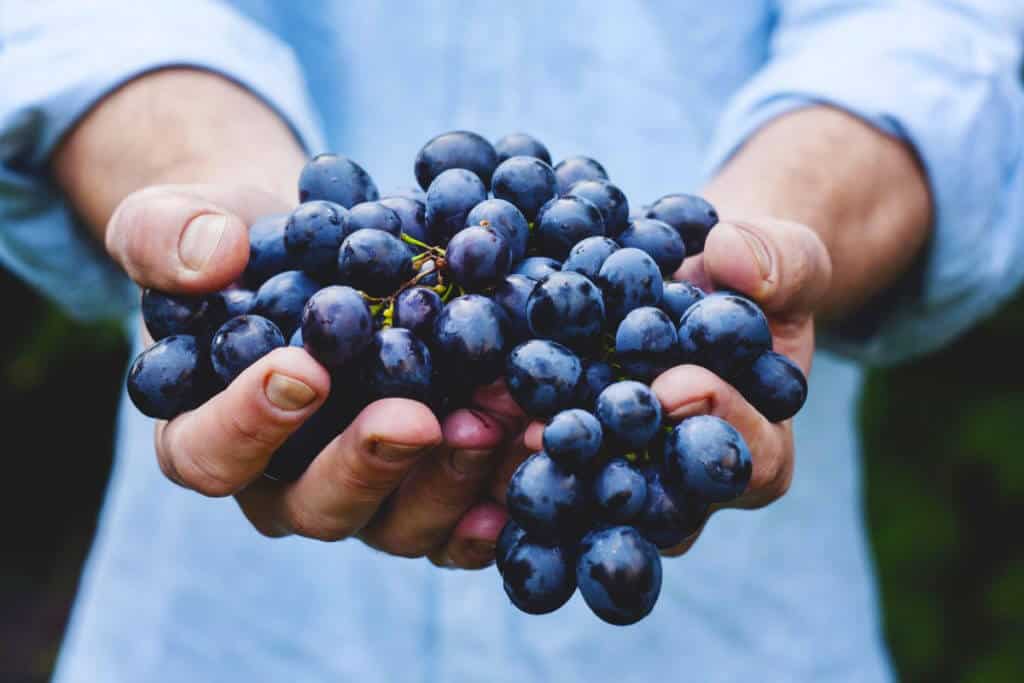
Step 1: Winemaking Ingredients & Equipment

Before we get to the nitty-gritty, let’s go over the ingredients that you’ll need to make your wine:
Basic Ingredients
- Wine yeast
- Filtered water
- Granulated sugar
- Wine grapes
Basic Equipment
- Fruit crusher and press
- Large food-grade quality plastic bucket for primary fermentation
- 1-gallon glass water jugs for secondary fermentation
- Wine bottles
- Corks
- Air locks (to assist with fermentation)
- Filter
- Funnel
- Plastic tubing that fits into wine bottle
- Hydrometer to measure sugar levels
Of course, there are other ingredients and equipments that you can consider to improve the outcome of your wine. For a full list of list, click here. You may also purchase all your wine recipe needs from suppliers, such as Adventures in Homebrewing.
Step 2: Making Your Concoction & Primary Fermentation

Before winemaking, it is important to make sure that every piece of equipment is rinsed clean and free of any contaminants. Once the equipment is washed, pick the finest of your selection of grapes by weeding out the rotten and odd ones. Then, wash the grapes and remove the stems. Crush the grapes to release the juice into the plastic bucket. Using your feet or hands will do. Next, add the yeast wine then insert the hydrometer into the juice to read the sugar levels. If the hydrometer reads less than 1.010, you may want to consider adding sugar to the juice. If you do add sugar, make sure to thoroughly stir the mixture. The last task in this step is to cover the plastic bucket with cloth.
Over the course of the next 10 days, the wine will ferment and this process will cause froth to develop on top of the bucket as sediment falls to the bottom.
Step 3: Secondary Fermentation & Clearing the Wine

After 10 days, gently strain the juice to remove the froth and sediment. Then, use the funnel to transfer the juice from the large, plastic container into the glass water jugs. Fill each jug to the top to reduce the amount of air in the jug. Fit the jugs with airlocks and allow the juice to ferment for several weeks. The amount of time that you should allow the wine to ferment depends on external factors. A good rule of thumb is to wait 10 – 15 days. However, using the hydrometer to read the sugar level is the best way to determine when the secondary fermentation process is over.
Removing impurities and solids from the wine, also known as “clearing,” is essential for producing wine that is appealing. This process can be done two different ways: either over time by straining the juice every few weeks for two or three times (known as “racking”) or by purchasing a clarifying agent.
Step 4: Bottling, Storing, and Aging

Once the secondary fermentation and clarifying processes are over, it’s time to bottle the wine. Use the plastic tubing to siphon the wine from the glass jar to the wine bottles. You want to make sure to use the tubing rather than pouring the juice into the bottles to prevent premature exposure to copious amounts of air. Leave about half an inch of room inside the bottles then insert the corks.
Now it’s time to store and age your wine. The wine should be stored upright for the first three days after bottling. After three days, store the wine bottles on their sides at a cool temperature (ideally, 55 degrees Fahrenheit). Keep the wines in a dark, cool place where there is limited disturbance. White wines can be ready to drink after 6 months while red wines should be given a year to age.
Step 5: Enjoy the Fruits of Your Labor

The last but most important step to the art of winemaking is tasting the fruits of your labor. After the diligence and care that has been put into crafting the wine, in addition to the patience that its taken to property store and age the wine, it is now time to sit back, relax, and indulge.
Need wine storage? Look no further!

Ensure the proper temperature for your wine bottle storage.

YOUR COMMENT